Showing posts with label snowflakes. Show all posts

Monday, December 16, 2019

Isomalt Snowflakes with Cake Lace


Whether you are making snowflakes for a Frozen cake, or for a Northern Hemisphere inspired Christmas cake, Cake lace trapped inside isomalt is just so pretty!.
The photos speak for themselves, however if you're wondering how it was done


(1) spread cake lace on to snowflake lace mat and allow to dry


(2) Pour melted isomalt over lace snowflake slowly, so that your snowflakes don't join together. Allow to cool
(3) spritz with glitter if desired


(4) peel away from mat - spray with edible glaze, to help fight the humidity

Monday, August 11, 2014

Princess Elsa's Coronation Frozen Party Menu - from Kiwicakes test kitchen


If you need inspiration for a winter wonderland themed party then check out this balanced mix of fun food ideas from my daughter's party recently. 

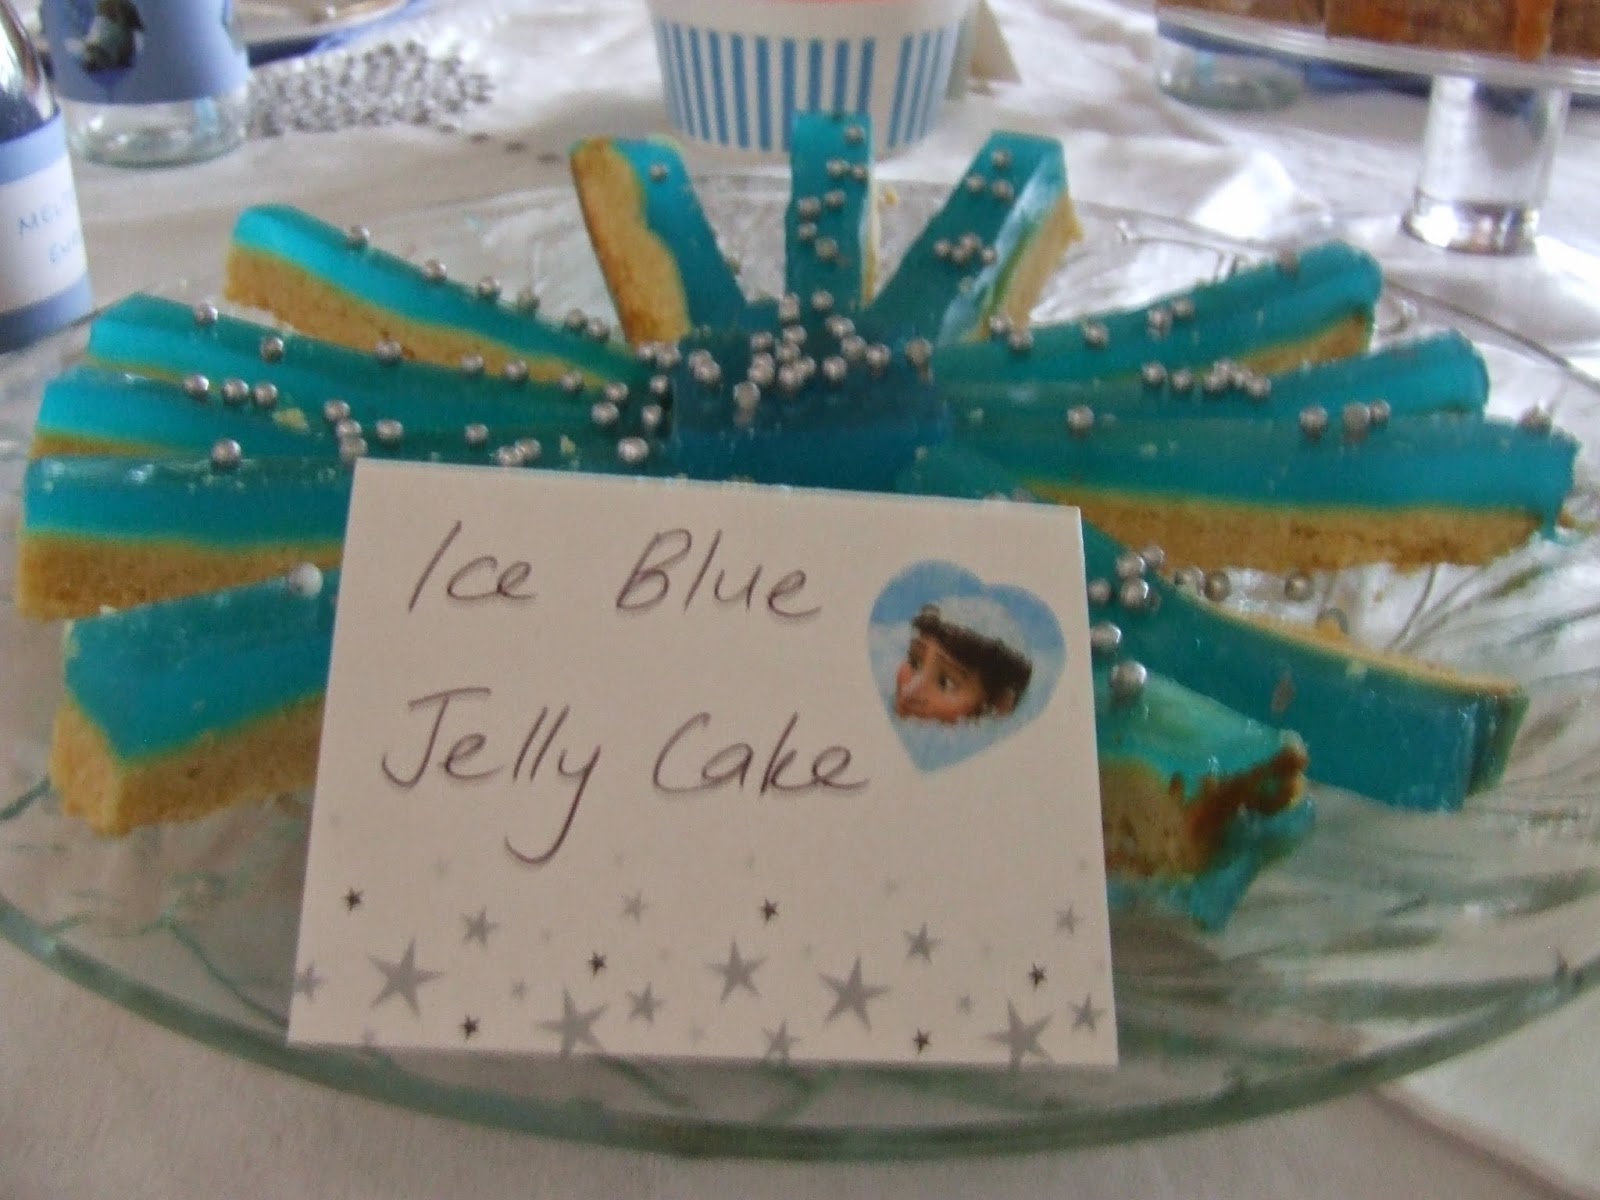
I labelled the individual dishes as our party girls are at the school age where they love learning to read and these gave them some giggles. We have stylish tags available online at Kiwicakes too.


Slices like this can be made up to a week in advance, covered in coconut 'snow' and stored in the fridge until party day. 


I love the crunch and vibrancy these bought to the table.
  

Yum yum hot from the oven. The 5 & 6 year old party girls thought this sign was hilarious! In the background you can spot the easiest table decoration ever - a tall glass vase filled with sparkly blue and silver christmas baubles.

These lemonade tasting 'clouds' were soft and billowy. Thank goodness for nanas who bake and help with food prep.

I was careful to avoid peanuts in the party food so these are almonds.

I normally endorse buying New Zealand made but in winter I feel lucky that Australia exports these summery fruit here and surprisingly at a really reasonable price. We bought 3 punnets and this was the first dish to run out!
We served creaming soda drinks (similar to lemonade) in these cool clear retro bottles. Check out the range of various designs we have in stock. Alternatively you could fill them with water, blue fanta or milk and all would still pass as 'melted snow'.

These cookies can be made a day ahead and are a fun project for kids to assist with. You will need shortbread cookies, white marshmallows, white chocolate, licorice, dried apricots and blue sugar pearls on your shopping list. The more inconsistent and 'melted' they look the better!

I think this jelly shortcake slice beats jelly cups which never seem to get finished. And leftovers make great lunchbox surprises for days to come. This was made with 50:50 blueberry and lemonade packet jelly mixes to get the mid-aqua colour.


Plump raisins were offered as 'snowman eyes' but you could even use chocolate drops or other confectionery.


A party is not a party in my house until there are cocktail sausages. Enough said.


These store-bought pretzel sticks made nice woody-looking 'arms'. Eskimo lollies are another easy supermarket item to pick up that is in keeping with the theme.

Lastly we sent the kids home with a signature handcrafted cookie. Its easy to do.


This snowflake cookie is topped with fondant which is gently ice coloured, with the same snowflake  cookie cutter, stuck on with sugar glue, finished with a dash of glacier glitter and presented in a favour bag. 

Big smiles all around!

Monday, August 4, 2014

Princess Anna of Arendelle Frozen Cake - from Kiwicakes test kitchen

It was difficult for my daughter to move past her favourite movie Frozen when choosing a birthday party idea. So as mum I accepted the challenge and went about creating a cake to suit. This was my first attempt at a dolly varden style cake and I am pleased with the result.


Princess Anna's skirt is made with a dolly varden pan and she is sitting upon a hexagonal cake. I liked that it had 6 points reminiscent of a snowflake and thought it added more interest than a traditional square or circle base. 

This is a white chocolate mudcake so quite dense in texture and really easy to work with when decorating. It was a big mixture to fill both tins generously. We are talking 5+ cups of caster sugar and 700g butter eeek! Once baked and cooled I covered both cakes in a thin layer of buttercream that I added a couple of Tablespoons of sparkling plum powder to for a sharp fruity hit.

I first covered the skirt cake in a 'petticoat' thin layer of white fondant so it was sealed all over. Blue pettinice was the perfect colour to finish Princess Anna's skirt. I draped it in two panels, the front being embossed with a swirly design from the floral impression mat set. I covered the joins with a ribbon of jade fondant. Blue sugar pearls were inserted into the middle of the embossed flowers before the fondant dried. A purple scalloped base was made from fondant and a small circle cookie cutter and all were adhered with a little sugar glue. Rose designs were added to the sides to keep it looking authentic.


This dolls legs are incredibly long as she is pointing her toes. They ended up going halfway down into the base cake! It meant cutting a hole in the cake card for her ankles to slot through. I wrapped her lower body in plastic wrap so she didn't get dirty then used an apple-corer to cut a space down for her legs and bottom. The cake board was adorned with various size snowflakes made with this plunger cutter set. Actually I didn't even make the snowflakes, my daughter (then still 5) managed to stamp, plunge and glitter them entirely herself. We used white sparkes but they would've also been neat in silver or sea green. 


Here is our birthday princess in her specially tailored costume for the party - gotta love clever Nanas! Six years old today XX

Monday, July 21, 2014

Frozen Snowflakes & Melted Snowman - from Kiwicakes test kitchen


These winter wonderland treats are right on trend and are particularly fitting for these chilly winter days we are experiencing. So much for living in the winterless north!

To achieve todays yummy crafts I cracked into some modelling chocolate, which tastes divine as well as having great stick-ability and moulding qualities.


This snowflake was handcrafted out of light blue modelling chocolate made with 1 part blue plus 4 parts white. It was rolled 4mm thick and snipped into shape with kitchen scissors then dusted with sapphire edible glitter


Although these look like cake pops we actually cheated and used ferrero rocher chocolates for the centres. It's an easy no-bake solution. Just unwrap, stab the ball with a cake pop stick then wrap with a circle of white Chocit. The red round cutter from this cookie cutter circle set is the perfect amount to mould into position. Just use clean dry hands to roll into a smooth ball. It seals the ferrero rocher in and adheres to the stick without any need for edible glue. Then the coated ball can be dusted with white edible glitter for some texture and shine.


Decorations like the blue snowflake stick magically when you press it gently onto the ball and they easily hold their shape! This is also true for the snowman decorations like his arms and all facial features. My snowman's hair is the only part that does not self-support for very long so he might need a quick hair touch up before serving. His nose is made from a wee bit of orange Chocit and it too sits proudly without wilting, I just used the end of a paintbrush to make a divet to press the carrot nose into. His arms, hair and other features are made using a little Brown Chocit rolled thinly and cut into strips. Rainbow packs are a great way to start your modelling chocolate collection. 


To make the melted snowman cookies, roll out your favourite cookie dough and make snowflake cut-outs to bake.This is a really effective shape! When cooled, top each biscuit with a rolled round of chocit, press into place and trim the base. 


Then gather his edible accessories, stack on top and smush into place to resemble the effect of melting!  


A snowflake also looks good in light blue or turquoise with a basic shape etched on top. This is where your flower modelling tools come in handy.


Finally the magic is completed with some edible glitter on the edges...


Monday, November 25, 2013

3D Sparkling Snowflakes - from Kiwicakes test kitchen


Today I had a play with another new Wilton chocolate mold. They have released a freestanding snowflake design just in time for Christmas.


I had a go at both blue and white snowflakes and decided to jazz them up with matching edible glitter to highlight the ornate edges.


The mold takes 115g chocolate or candy melts and makes 3 complete snowflakes (6 discs). 


Simply melt the chocolate, pour into the mold, tap to release air bubbles, refrigerate for ten minutes, then pop the set discs out.


Use a tiny drop of edible glue on a fine paintbrush to moisten the edges, one by one. Then dip liberally in your coloured edible glitter and keep working your way around the disc until it is sparkling!

You will need to work quickly as the heat of your hands will want to melt the snowflake disc. I used a scrap of baking paper to avoid leaving fingerprints while handling the chocolate. 


This snowflake uses blue candy melts and turquoise edible glitter. The bag of melts yields 9 snowflakes.


You can play with any combination of colours and glitters to suit your theme.


Related Posts Plugin for WordPress, Blogger...